Cart
0
Pre-Wade Survey
Current
Read First
Bottom
Probe First
Exit
Identify First
Unknown
Do Not Commit
Riverbed Risk Recon
How to Identify Unsafe River Bottoms Before Stepping Into the Water
The water surface can provide valuable clues about depth, current, submerged structure and changing riverbed conditions—but it is not a perfect map. Safe wading starts by reading those clues, probing unknown footing and refusing to commit when current, depth or the downstream consequences exceed your comfort level.
River danger is often hidden beneath ordinary-looking water.
A quiet stretch can contain powerful current, submerged boulders, unstable cobble, soft mud, roots, sudden depth transitions or an exit route that becomes much harder once you are committed.
The goal is therefore not to “decode” every river from the bank with perfect accuracy. The goal is to identify warning signs, narrow your crossing options and test the bottom before transferring your full weight.
WATER-SAFETY
REALITY CHECK
REALITY CHECK
Surface Clues Are Indicators—not Guarantees
A glassy surface does not automatically prove that a deep scour hole is underneath it. A foam line does not automatically prove that debris is trapped below.
Surface texture, standing waves, seams and eddies become useful when combined with current speed, visible depth, river geometry, known obstacles and probing.
If the bottom cannot be evaluated safely or the current is too strong to maintain controlled footing, find another route or stay out of the water.
Recon 01
Surface Hydraulics
Read What Moving Water Is Telling You About the Bottom
Water changes shape as it moves across submerged structure and changing depth.
Some of the most useful warning signs are standing waves, abrupt texture changes, strong seams and localized boils. The National Park Service notes that standing waves can indicate submerged boulders, logs, swift current or an uneven riverbed.
By contrast, small and closely spaced ripples may indicate a shallower, smoother bottom and can be more favorable for a crossing than strong standing waves.
The key is to treat each surface feature as one piece of evidence rather than a complete diagnosis of what lies below.
Can be associated with shallower, smoother bottom conditions, but current speed still matters.
May signal submerged boulders, logs, uneven bottom or concentrated current.
Often reveals a current seam or feeding lane. It does not, by itself, tell you exactly how deep the bottom is.
Indicates water changing direction around structure or a current break. Expect variable footing nearby.
Simplified Riverbed Cross Section
Broken Surface
Submerged Rock
Depth Transition
Surface turbulence may reveal structure, but the disturbance often
appears downstream of the actual submerged obstacle.
Never transfer full body weight into an unseen depth transition
without first probing the bottom.
Recon 02
Substrate Hazards
The Bottom Can Be Dangerous Even When You Can See It
Clear water makes the bottom easier to inspect, but visibility alone does not tell you whether a surface will remain stable once your weight is on it.
Rounded cobbles can roll. Algae-covered rocks can be extremely slick. Fine sediment can be much softer than it appears. Narrow gaps between rocks can trap a foot or leg.
NPS field safety guidance specifically cautions against deep mud, crevices between rocks and unstable riverbanks.
Deep Silt & Soft Organic Mud
Depositional areas can be deceptively soft. A boot may sink deeply, increasing effort and making it harder to recover balance.
Rounded Cobble
Smooth stones can shift or roll beneath the outsole, particularly when current is pushing against the lower legs.
Algae-Covered Rock
A rock that looks solid can provide very little traction once the outsole is loaded at an angle.
Roots, Logs & Undercut Banks
Eroded banks and submerged woody debris can create snagging, collapsing or entrapment hazards.

Trudave Field Scene
Stop at the Bank Before You Commit to the Channel
A few minutes spent studying the current, downstream hazards and exit options can tell you more than stepping straight into unfamiliar water.
Recon 03
Pre-Entry Scouting
Choose the Crossing Before You Put a Boot in the River
The safest route is often found by walking the bank before entering the water.
NPS river-crossing guidance recommends looking for straighter sections, wider channels and locations where the flow is divided rather than concentrated into one narrow chute.
Always look downstream as well. If you lose your footing, the hazard below you matters as much as the crossing directly in front of you.
Before Entry
Five Checks Before Weighting the Bottom
1
Watch the Current First
Observe surface speed, standing waves, seams and downstream consequences before choosing a route.
2
Find the Widest Practical Route
Wider or divided channels can sometimes be shallower and slower than narrow concentrated flow.
3
Probe Before Transferring Weight
Use a wading staff to test depth, firmness and the next foothold before committing your center of gravity.
4
Identify the Exit and Retreat Route
Do not enter a route that becomes impossible to reverse once the current or depth increases.
5
Check Downstream Hazards
Rapids, falls, strainers, logs and steep banks can turn a simple slip into a serious emergency.
Maintain Two Points of Contact
When conditions are uncertain, keep both feet secure or maintain one planted foot plus a wading staff before moving the next point.
A staff provides an additional contact point and lets you test the next section of bottom before your foot arrives.
Face the Current and Use Short Controlled Steps
In moving water, avoid long strides and crossing your feet. Keep a wide, stable stance and use deliberate side-shuffles.
NPS guidance recommends facing upstream and, where conditions permit, crossing on a slight downstream angle rather than fighting directly against the current.
What You See, What It May Mean, and How to Respond
| Field Clue | Possible Hazard | Risk Level | Safer Response |
|---|---|---|---|
| Standing waves or repeated boils | Submerged boulder, log, uneven bottom or concentrated flow | High | Do not step directly into the feature. Probe and search upstream or downstream for a smoother route. |
| Dark soft-looking backwater edge | Fine silt, organic mud or unexpectedly soft substrate | Moderate–High | Probe firmness before entering and avoid committing both feet to deep soft sediment. |
| Uniform rounded cobble | Rolling or unstable stones | Moderate | Use short steps, a wider stance and a staff. Avoid standing on the rounded tops of individual rocks. |
| Outside bend with exposed roots | Eroded or undercut bank, root structure and potentially deeper current | High | Evaluate another crossing, especially if the bank is steep or the current is concentrated along the bend. |
| Small closely spaced ripples | Potentially shallower and smoother bottom | Lower Clue | Still test depth and current before committing. No surface pattern guarantees safe footing. |
| Foam line or current seam | Boundary between different current speeds | Variable | Expect a change in lateral water force and probe the bottom before crossing the seam. |
TURN AROUND
IS A VALID PLAN
IS A VALID PLAN
If You Cannot Confidently Evaluate the Crossing, Do Not Cross
Depth alone is not enough to determine safety. Fast shallow water can still knock a person off balance, particularly on slippery or uneven footing.
The National Park Service also warns that currents can be powerful even when the water surface appears calm.
High water, cold water, unknown depth, strainers, falls or a poor exit route are all valid reasons to stay on the bank and find another location.
Field Video
Wading / River Reading
See Safe Footing and River-Reading Techniques in Practice
These videos reinforce two separate skills: moving safely through water and understanding how visible surface features relate to current structure.
The Orvis Company
Tips for Safe Wading
Covers balance, bottom selection, footwear, river movement and practical habits for safer wading.
Orvis Guide to Fly Fishing
Safe Wading Tips with Tom Rosenbauer
A concise look at deliberate movement, footing and safe technique in different river conditions.
READING
WATER 101
WATER 101
Ventures Fly Co.
How to Find Trout in a River: Reading Water 101
This lesson focuses on seams, transition points, foam lines, structure and current—the same surface clues that help an angler think more critically about what is happening below the surface.
Watch Reading Water 101
TRUCK → RAMP → BANK → RIVER
River trips move across multiple surfaces before the actual wade begins. Hard ramps and wet decks demand different traction than an uneven, submerged riverbed.
Trudave Transit & River Setup
Match the Footwear to the Surface You Are Actually On
Deck boots are useful around launches and above-water surfaces. Actual river wading requires a system built for water depth, current and underwater footing.
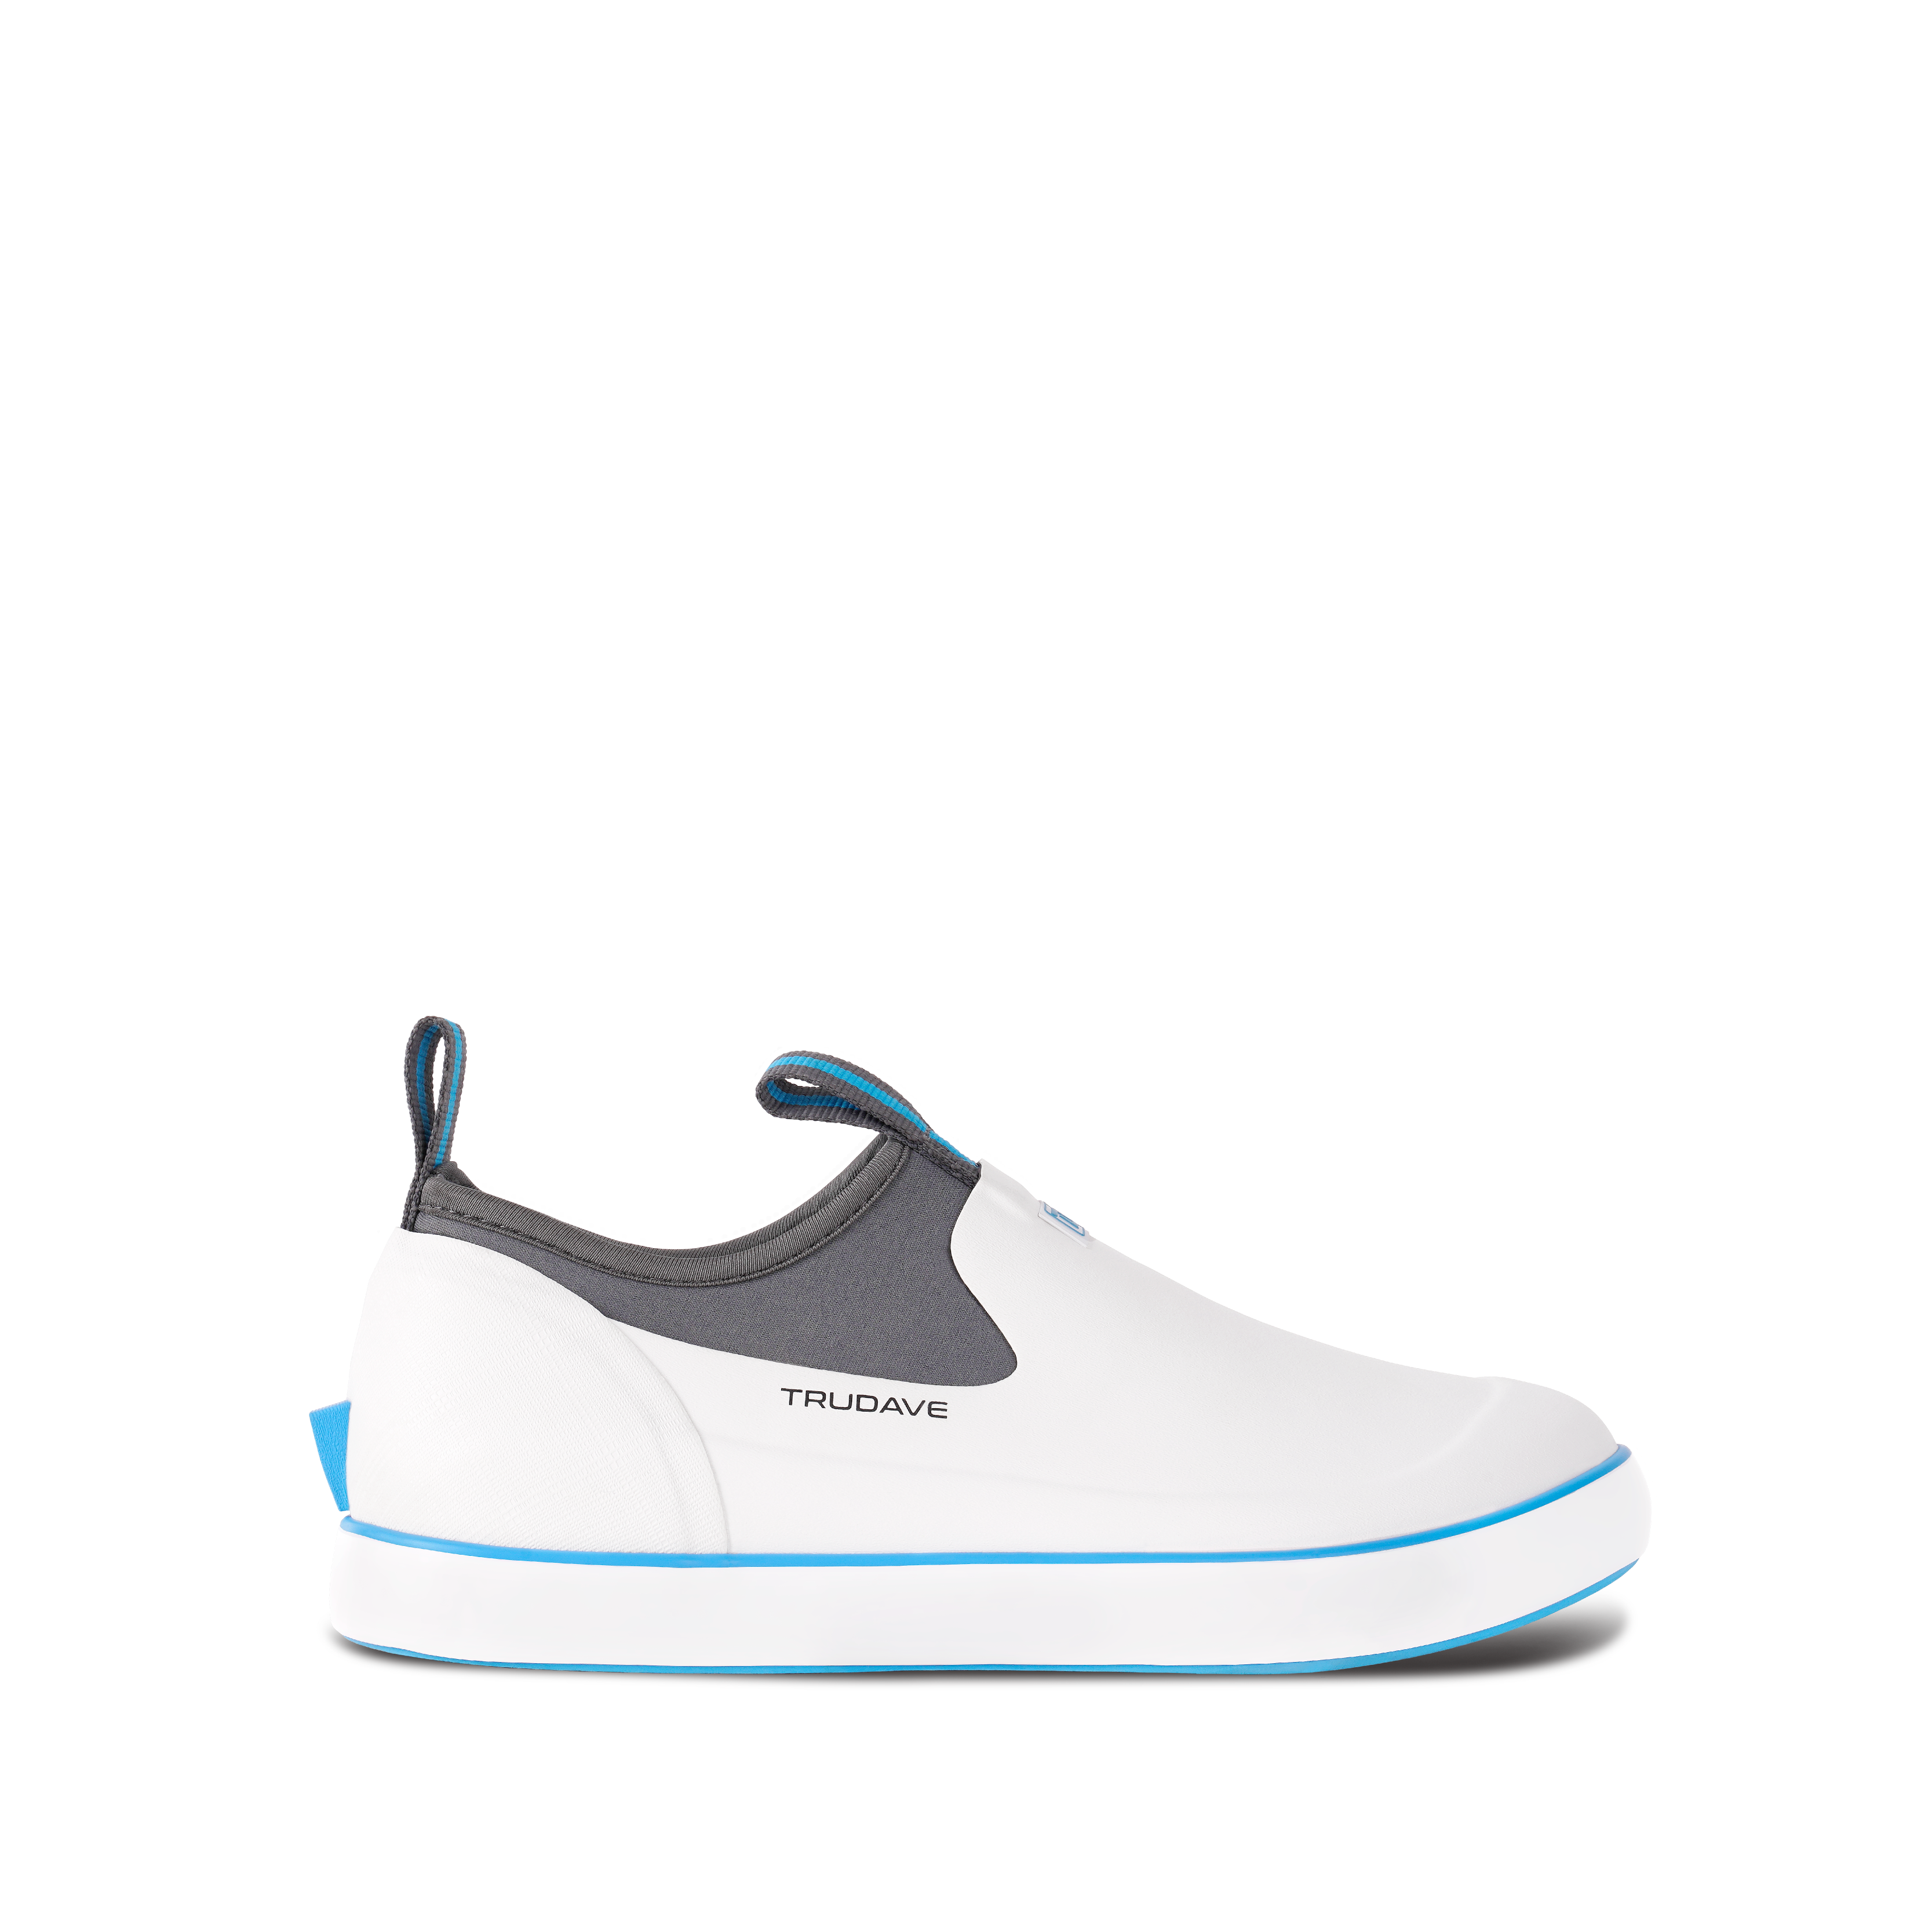
WaveLock
Use WaveLock for vehicle-to-launch setup, boat preparation and other hard wet surfaces before entering the river.
- Waterproof rubber shell
- Fine siping micro-channels
- Multi-directional traction lugs
- Flexible neoprene collar
- Low-profile slip-on construction
BreezeFly
For deliberate river entry, BreezeFly uses a breathable chest-wader construction with stocking feet designed to pair with dedicated wading boots selected for the riverbed.
- 3-layer waterproof breathable shell
- Fully taped seams
- 4mm neoprene stocking feet
- Integrated gravel guards
- Adjustable wading belt
FOOTWEAR
DOES NOT
MAKE WATER SAFE
DOES NOT
MAKE WATER SAFE
Tall Rubber Boots Are Not a Substitute for Dedicated Wading Footwear
Tall rubber boots can make sense on muddy banks, wet grass and shallow shoreline approaches where the water stays below the boot opening.
They should not be treated as the default solution for slippery, uneven, moving-water riverbeds. For intentional river wading, use waders and footwear appropriate for the actual substrate and local regulations.
The Bottom Line
You cannot identify every unsafe river bottom by looking at the surface alone.
But surface texture, standing waves, seams, eddies, river geometry and visible substrate can tell you where extra caution is required.
The next step is always confirmation—not assumption.
Walk the bank. Check the downstream consequences. Select a conservative route. Probe unknown depth and bottom firmness. Keep stable contact points before moving your weight.
If the route becomes deeper, faster or less predictable than expected, retreat while you still have an easy retreat.
Match deck footwear to ramps and boats, river footwear to submerged terrain, and remember that no outsole can turn an unsafe crossing into a safe one.
Read the water. Probe the bottom. Keep the option to turn around.